

How to Set Up and Get Started with Raspberry Pi 3 (Starter Guide)
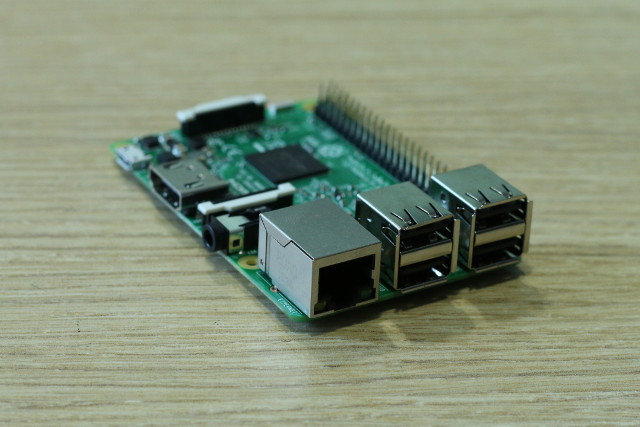
The Raspberry Pi is an cheap, depression-powered, credit card-sized mini figurer. It tin can do all sorts of wonderful things such as beingness a general-purpose desktop, a low-toll & low-power media server, a home automation device, and much more than. The latest iteration, called the Raspberry Pi three, has iv USB ports to plug in your peripherals (bought separately) such as a keyboard, mouse, pen drives, an HDMI port for plugging in a monitor or TV, a 3.5 mm audio jack for speakers and headphones, an Ethernet port, a built-in WiFi and Bluetooth module, and even a prepare of GPIO pins for the tinkerers among u.s..
As wonderful as this mini powerhouse is, setting information technology up for use is non and then straightforward. Information technology requires time, patience, tinkering, and a willingness to solve issues every bit they come. So, here is a step-by-step guide on how y'all can fix upward your Raspberry Pi for the showtime time.
Annotation: We are using the Raspberry Pi 3 for this article. These instructions, however, will work with Raspberry Pi 1 & two as well.
What You'll Need to Set Up Raspberry Pi 3
The Raspberry Pi does non come up with a keyboard, mouse, brandish, storage, or fifty-fifty a power supply. And then, hither is a list of the hardware and software you lot will need to set up Raspberry Pi 3:
-
Raspberry Pi (duh!)
Nosotros recommend getting the latest Raspberry Pi three, as it is the fastest and most advanced Pi still, and comes with in-built WiFi and Bluetooth, unlike the older models. It costs the same likewise.
Buy ($35.70)
-
Power Supply
The Raspberry Pi uses a standard micro USB charger (the one you use on your smartphone) as a ability supply, with a major caveat that information technology must accept an output of at least 2.0A. Ability supplies with lower ratings might work, but will cause problems when you connect USB peripherals, or during intensive utilise.
Buy ($9.99)
-
MicroSD Menu
You can use any spare MicroSD card that yous have lying effectually. We recommend using a Class 10 carte du jour with at least xvi GB of storage.
Buy ($7.99)
-
MicroSD Bill of fare Reader
You will need a Card Reader to load up an operating system on your microSD bill of fare. If you lot take a laptop, information technology probably has one built-in, then you do not need to buy this separately.
Buy ($thirteen)
-
USB Keyboard and Mouse
Again, you can use the ones that you already own. Yous will not demand these if yous want to set up up a headless server on your Pi, merely they are still recommended in case there is a trouble during setup and yous demand to rapidly troubleshoot.
Buy ($18.x)
-
HDMI Cable
You lot will need an HDMI cablevision to connect your Pi to a screen. Most modernistic monitors and TVs come up equipped with HDMI ports, so connectivity should not be a trouble. However, if your monitor does non support information technology, yous will need an HDMI (female) to DVI or VGA (male) adapter.
Buy ($5.49)
-
Case (optional, but recommended)
Fifty-fifty though you tin keep your Pi 'naked' without problems, y'all will need a case if yous want to keep it protected. You can buy one of the many cases bachelor, or exist creative and make your own.
Buy ($7.91)
Getting Started with Raspberry Pi
Preparing Your SD Carte du jour
i. Insert your SD card in the card reader, and insert your card reader in your PC.
ii. Download and install the SD Formatter for Windows tool. You will need to go to the bottom of the folio and click Take before the download begins.
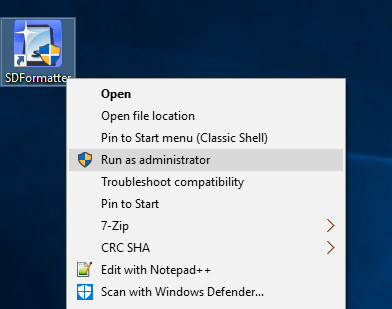
3. Right click on the SDFormatter icon on your desktop and select Run as Administrator.
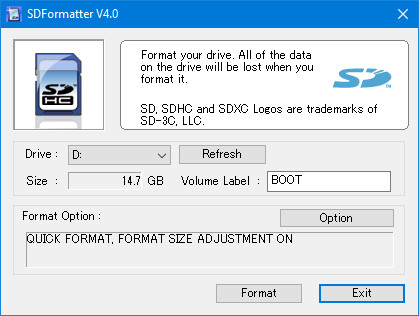
4. Here, select the drive you lot wish to format (D: in my case). Exist careful to select the right drive, otherwise you lot might wipe the data on another bulldoze. Every bit a precaution, remove any pen drives or other expandable storage that you have connected to your system.
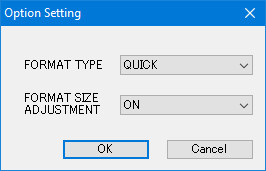
5. Get to the Options and make sure that Format Size Adjustment is prepare to ON.
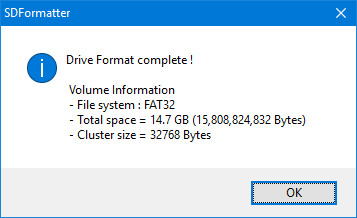
6. Now, click on Format and say yes to the sanity checks. If you run into a dialog like this on your screen, congratulations! You are now ready to load up your SD card with an Bone.
Installing Raspbian Os
1. Download the Raspbian operating system (1.3GB). Subsequently the download is finished, correct click and excerpt the image from the zip file. The fully extracted paradigm will be about 3.75GB in size, so brand sure y'all have enough infinite available.
ii. Download and install the Win32 Disk Imager tool.
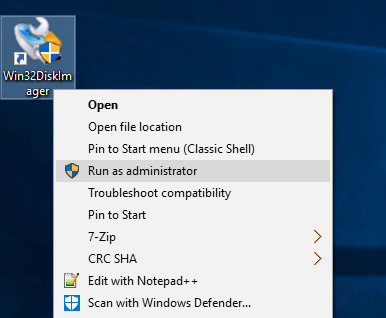
iii. Right click the Win32DiskImager icon and select Run as Administrator.
four. Make sure the right bulldoze is selected in the Device department (D: in my case).

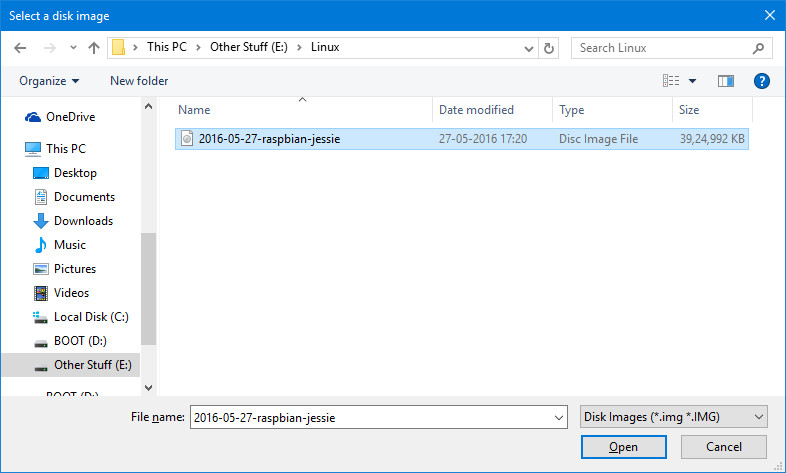
5. Click on the Folder icon adjacent to the address bar, and navigate to the directory yous extracted the Raspbian image in. Select the image file and click Open.
six. Once you accept verified the right epitome file and drive to write in, click on Write and ostend your choice. Your SD menu will at present exist loaded with Raspbian OS. This process volition have a while, so grab a cup of coffee.
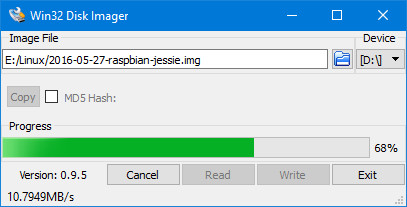
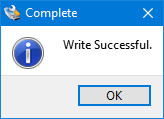
7. Once the process is over, you volition see the following screen.
8. Click on the Safely Remove Hardware icon in your system tray and select your card reader. Now remove the card reader from your PC. You lot are now set to turn on your Raspberry Pi for the very kickoff time!
Getting Gear up For The First Kicking
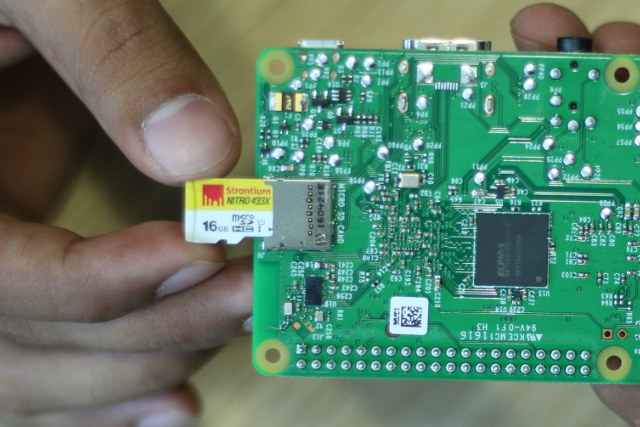
one. Subsequently you have removed the microSD card from the carte du jour reader, flip over your Raspberry Pi, and insert the card into the microSD card slot, as shown in the prototype:
2. Optional: insert your Raspberry Pi into its case, if you take 1.
iii. Now, insert the mouse, keyboard, ability supply and the HDMI cable in the advisable slots.

four. Plough on the power for your Pi and your monitor. If everything went well, you will come across some booting up text.
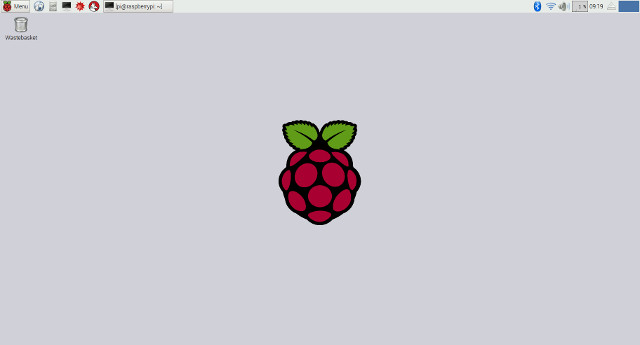
Finally you will run across your beautiful new desktop! Feel gratis to take a await around and take some fun.
Configuring Raspbian OS options
No operating system is ever ready exactly the fashion we want out of the box, and Raspbian OS is no exception. Hither are some configurations you need to make on Raspbian OS to make life easier:
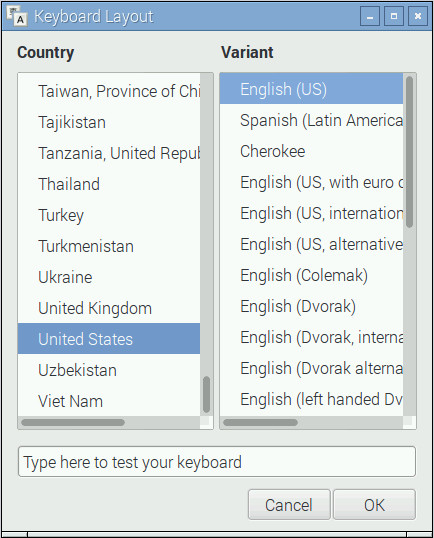
Set Up The Keyboard Layout
Raspbian is set upwards to use the English language (Great britain) keyboard layout past default, while most English language speakers in the U.s., Canada, India etc. employ the English (The states) layout. Here is how to change it:
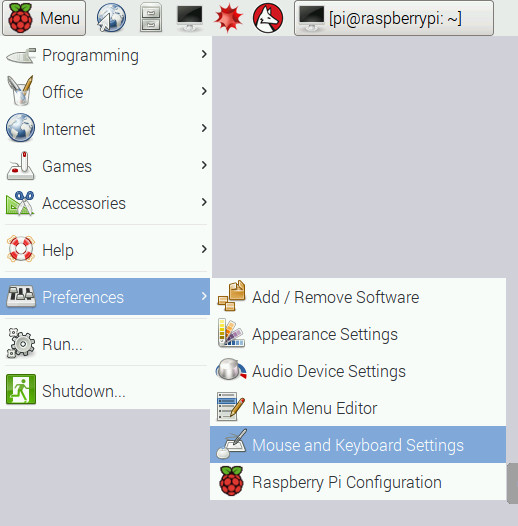
i. Go to Card > Preferences > Mouse and Keyboard Settings.
2. Navigate to the Keyboard tab on the summit and select Keyboard Layout.

3. Here, select the keyboard layout of your choice. I use English language (Us), so that is what I have selected. ClickOK, and y'all're done.
Bones Configuration
To fix up some nuts, go to Menu > Preferences > Raspberry Pi Configurationand become over some useful options in each tab:
-
System
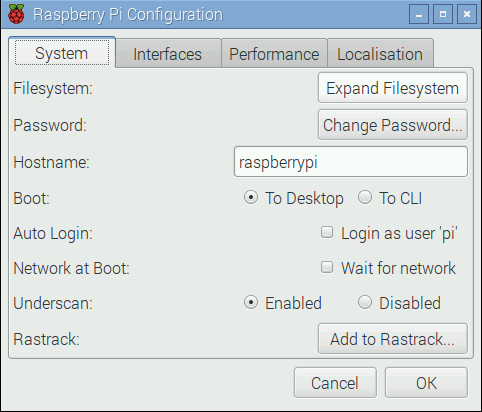
Filesystem: Raspbian Os is not set to accept up all the space on your SD card. To use all the space bachelor, click the Expand Filesystem push button.
Password: The default user 'pi' has the password 'raspberry' by default. Information technology is recommended to change it to a more secure password past clicking onChange Password. Keep in heed that your new password will exist visible on the screen when you're setting information technology up for the beginning fourth dimension.
Auto Login: Raspbian OS will automatically log in to the default user 'pi' without prompting for a password. For security reasons, it is recommended to uncheck this option, so that the organization volition ask for a countersign at every boot.
Underscan: On many screens, you might see a blackness outline on the edges. To get rid of these and make sure you get to apply the unabridged screen, put this option to Disabled.
-
Interfaces
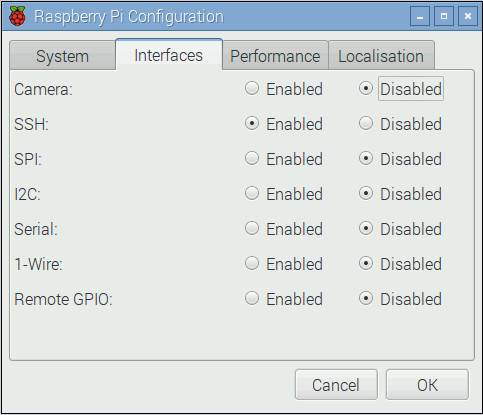
Here, you volition find various interfaces bachelor for your system. These are not important for now. We have enabled the SSH daemon, which is used to connect to Unix-like systems, remotely. If y'all do not know what the previous sentence means, you lot should go along information technology Disabled.
-
Performance
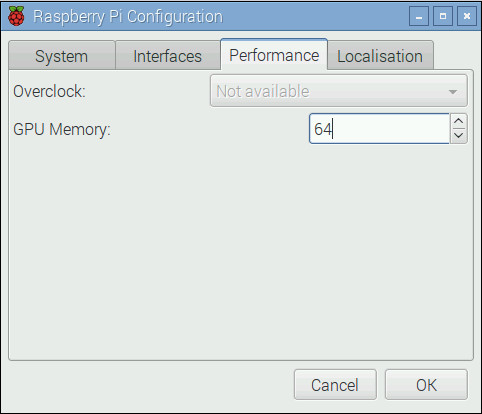
Here, y'all tin set options for overclocking and setting the GPU retentivity. Similar the previous department, if you do not know what these mean, you should probably keep the defaults.
-
Localisation
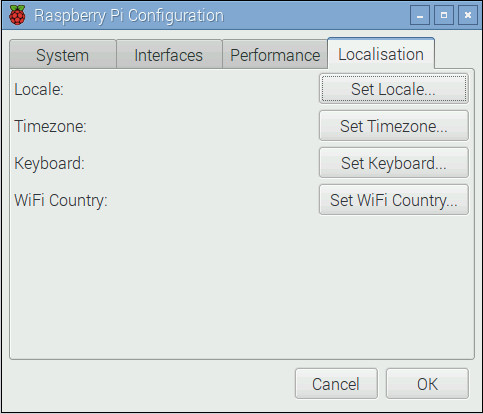
Here, yous can set up the timezone, locale and keyboard layout. These are rather self-explanatory and it is recommended that you alter all of these settings to the ones that suit your location and preferences.
One time you lot are done playing with the settings, click on OK and y'all will exist prompted for a reboot. Click Ayeand your organization will restart with the settings that y'all practical.
Gear up The Network
Y'all will probably want to connect your Pi to the internet. If yous are using Ethernet, your router will near likely exercise the task automatically using DHCP and you don't need to do annihilation. If y'all are using WiFi, follow the instructions:
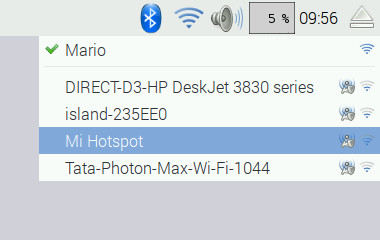
1. Click on the Network icon on the top-right corner of the screen and select the network you wish to connect to.
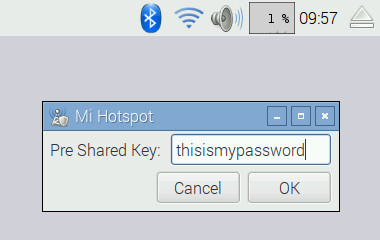
2. It volition now prompt you for your password. Enter it and printing OK.
3. Y'all volition at present encounter the WiFi icon appear with the current strength of the betoken. This means y'all are connected. Open the web browser (Bill of fare > Cyberspace > Epiphany Spider web Browser) and open whatsoever website to test your connection.
Update Your System and Install New Software
Like whatsoever other calculator, it is important to keep your Raspberry Pi updated, and stay abreast of the latest security and bug fixes. Here is how to do it:
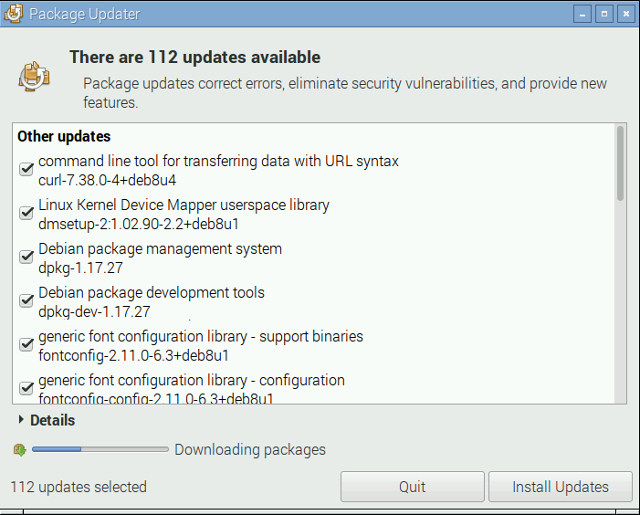
i. Go to Menu > Preferences > Add/Remove Software. Click on Options on the top left corner and select Check for Updates.
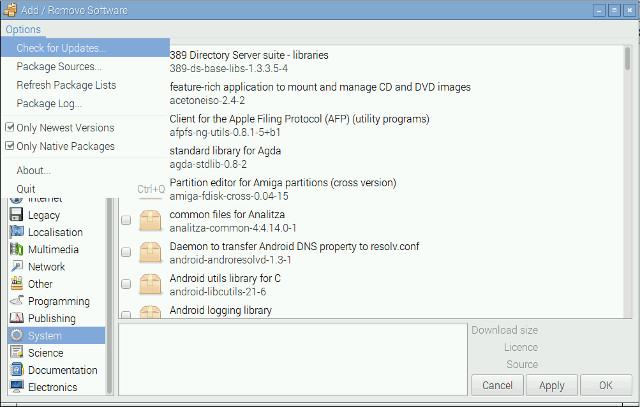
2. Here, you lot will encounter the packages that need to be updated. Continue all the packages selected and click on Install Updates. Be patient and practice non turn off your Pi till the updates finish installing.
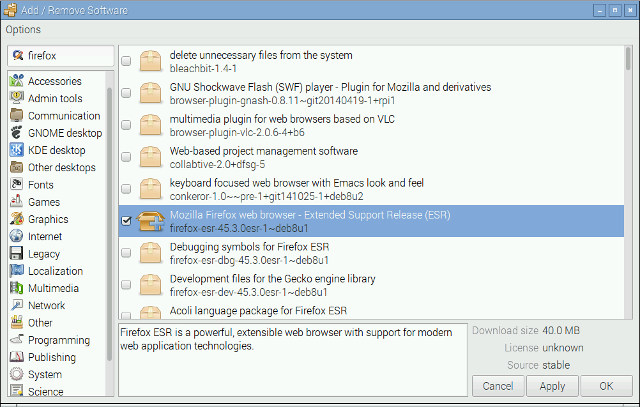
The same Add together/Remove Software program also lets y'all install new apps. Just browse the various categories, or search for the software y'all want.
SEE ALSO: Arduino vs Raspberry Pi: A Detailed Comparison
All Gear up To Use Your Raspberry Pi?
Well, that's how you can ready a Raspberry Pi desktop from scratch and we hope you found our guide useful. If you take any doubts, do let united states of america know in the comments section below. Well, that is all for now and we hope yous savor your brand new Raspberry Pi desktop. Also, nosotros are only getting started with the Raspberry Pi and some of the topics that we will be covering include, only aren't limited to:
- Personal Spider web and File Server
- Media Streaming Heart Using Kodi
- Retro Gaming Machine
- Router and Web Filter
- Digital Picture Frame
- Home Automation Centre
- Cheap Amazon Repeat Replacement
Then, stay tuned and watch this space for more cool Raspberry Pi projects, tips and tricks.

Source: https://beebom.com/how-to-set-up-and-get-started-with-raspberry-pi-3-starter-guide/
Posted by: smithcathe1941.blogspot.com
0 Response to "How to Set Up and Get Started with Raspberry Pi 3 (Starter Guide)"
Post a Comment